


Can I say that I just adore Pinterest?
I am so thankful there is a site where I can sit day to day and be thoroughly blown away by the creativity of people and have the ability to share things I love with everyone as well! That's where these posts come into play: real life pinterest recreations with tips and tricks on how it's done efficiently and inexpensively.
Just recently I saw a pin by Miss Mustard Seed showing the process of how to create very cute party lights with a string of white Christmas lights, dixie cups and scrap-booking paper.

I thought to myself:
Those are super cute and I bet you could make them specifically for
whatever party you are having by customizing the paper.
I wonder how that would look with regular Christmas lights?
How would the paper hold up outside in the elements?
After checking out the visual instructions in the pin,
could there be an easier, quicker way to recreate this?
What I bought at Walmart:
1 bag of Great Value 3 oz. 100 plastic dixie style bath cups - $1.98
I already had on hand:
An X-Acto Knife
A multi-color 100 bulb strand of lights
(if you needed to buy these supplies you'd be looking at about $8 total for both)

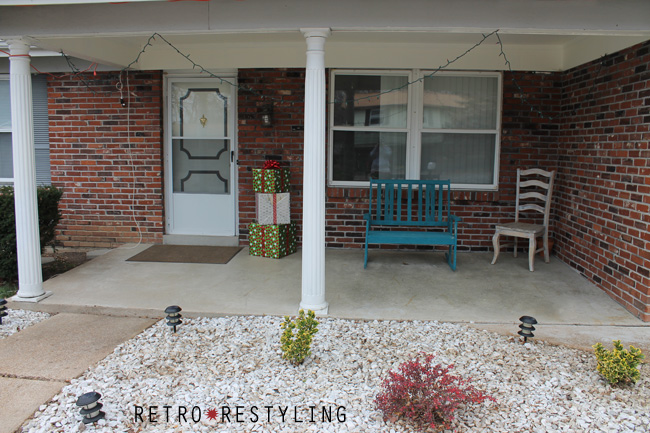
The first thing I needed to do was hang my lights up the way I thought they would look the best outside. I'm sure any 'ol way would work, but I draped mine across my front porch from one side to the next. I know they are kind of hard to see in the light during the day.
Hey check it out!!
There's my Christmas Gift Porch Decor boxes I recently posted about!
I really like the way they turned out, they look great outside!
There's my Christmas Gift Porch Decor boxes I recently posted about!
I really like the way they turned out, they look great outside!
I took my X-Acto knife and cut a half inch X shape in the bottom of the cups, that way the cups could stick right on to the lights with no problem. That's the end of a sharpie to give you a size reference.

I took all of the 100 plastic cups outside and for about 5 minutes quickly stuck them on every light (it was really stinkin' cold out there). They slipped right on and hung on pretty well, so it was pretty easy to do.


They could be Christmas lights, they could be Party lights, either way they turned out pretty nifty. I like the way the colors are projected through the cups. Instead of being one single dinky light it's a full cup of color awesomeness.
TIP TIME
1.
The reason I like using the plastic cups vs. the paper cups is they can get wet and they won't get ruined. The paper cups would work great for an indoor party, or even an indoor porch, but I believe this would be your best bet for something outside.
2.
With no cutting of a paper stencil to put paper on these cups it took no time at all to do this. It was super easy and cheap, especially if you already have the lights you want to use.
3.
You CAN write on these cups.
You can take a black sharpie and draw designs and make them more interesting than just regular light projecting plastic cups. With the lights flipping this way and that I wouldn't suggest letters. I wrote some on a few cups to see what it would look like and you couldn't read them.
There ya go! That was simple and fun, wasn't it?
I think I'm going to make these weekly posts on Friday's instead of Tuesday's that way you have something creative to work on for your weekend! Like you don't have enough to do right? haha!
Make sure to pin one of my pictures from this post please!!
Stay tuned for next weeks post when I start diving into household handmade cleaners!
It's time to take it back to the good old days and stop wasting so much money at the store!!

So cute! Love when people actually do things they found on pinterest!
ReplyDeleteThanks, me too! :)
DeleteThose look great! I love your tutorial : )
ReplyDeleteThank you sista!
Delete